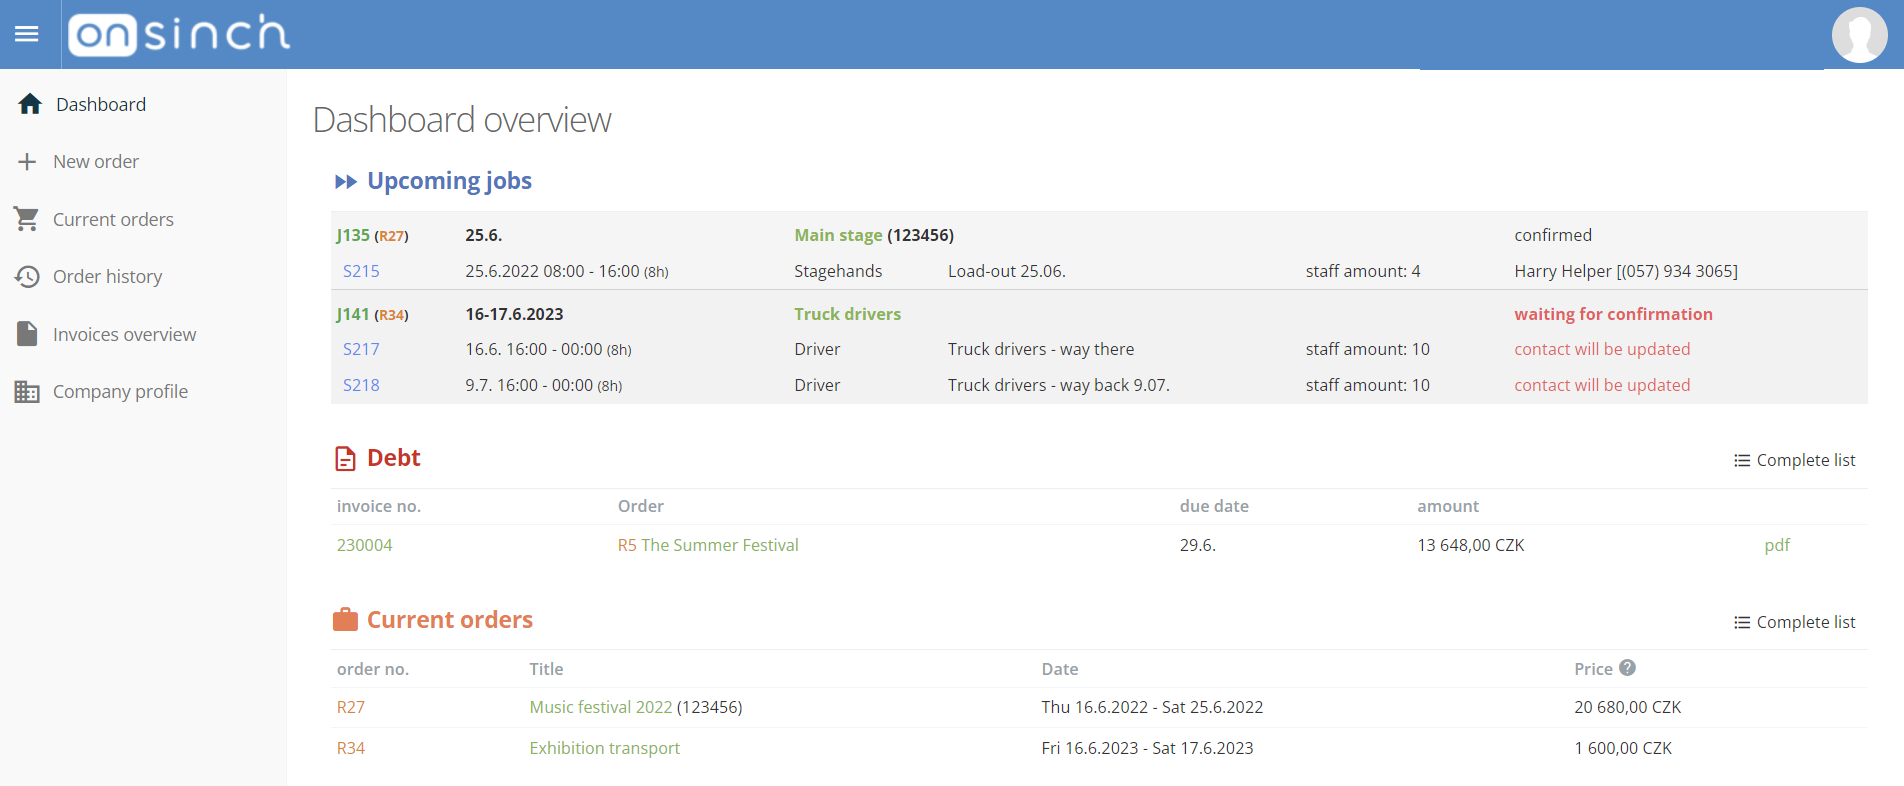
Client portal
Depending on your licence type you can grant access to OnSinch client portal to your clients. They can place orders from here, request changes, view issued invoices and change company details.

Granting access to client portal
If you want to grant access to the client portal to your clients, visit Client overview and profile of the chosen client. You can see the client's status under the name (in this case client has no access).
Click on Actions and Send an activation email. The client will receive a notification email with a link to log in, similar to staff members and admins.

User role
As we can create more roles for admins with several levels of access the same can be done for clients. Like this, you can grant access to more clients from one company and give them different roles and different permissions, e.g. if some clients should be able to place orders but not to download invoices, etc. the client sees all orders and shifts ordered by the company.
💡Tip: You can sign in as a client to their account from their profile the same way you can sign in as a staff member.
Notifications
Clients receive several notifications from the client portal regarding orders and invoices. Go to Settings → Notification settings → Client section to edit email texts and set notifications.
Placing orders in the client portal
Clients can request, edit, or cancel shifts via the client portal.

- Clients fill out similar but reduced new job form as the admin does when creating a job.
- They fill in basic information about the shift - name, dates, profession, location, number of staff members, and notes.
💡Tip: You can decide which professions can clients choose in the client portal in professions settings.
- Clients see already estimated prices either based on the basic pricelist or the company default price list if set.
- After the shift is saved in the client portal, admins will see it in the section Work → Jobs and shifts → To confirm.

- From here you can review the job, make necessary edits using the builder editor, and approve or decline the shift.
- If the client requests changes in already created shifts, you will be notified in the same section. The client will be notified about the result.
💡Tip: When placing an order client agrees with your general T&C document. This can be uploaded in Settings → Theme → Text section.
What information about the shift clients see?
Clients can see basic information about the shift such as date, location, tags (if the tag is set as visible to clients).
Furthermore, they can see the list of signed-up staff and their profile pictures if you set it as visible for clients in agency settings. They can also see the lead worker's phone number, but only if the shift is upcoming or happening - it disappears once the shift has happened.

Requesting changes via the client portal
Clients can edit shifts; request changes that again you as an admin can approve or decline. Admin will see the shift with requested changes in To approve section.
The changes are available only when the shift is a so-called atomic shift. When the shift is requested and split to more positions by admin with different times or different professions, requesting a change from the client portal is no longer possible and the client needs to contact an admin directly.
The client is informed about this in the client portal:

Finance overview and invoices
Clients have a complete overview of the history of orders and all issued invoices as well as made payments and their due dates. They can download invoices PDFs anytime from here.

CMS for clients
You can create a special CMS page dedicated to clients where you can include additional information such as details about cooperation and services provided.
Simply go to Settings → CMS and when creating a page tick only the checkbox ''Client'' in the views section. Such page will be visible only to clients not to staff members.
Snippets
Convey information to your client directly from the page. Provide simple instructions with snippets.
To set them up go to Settings > Client snippets

Simply edit the content of the snippets and style.


